


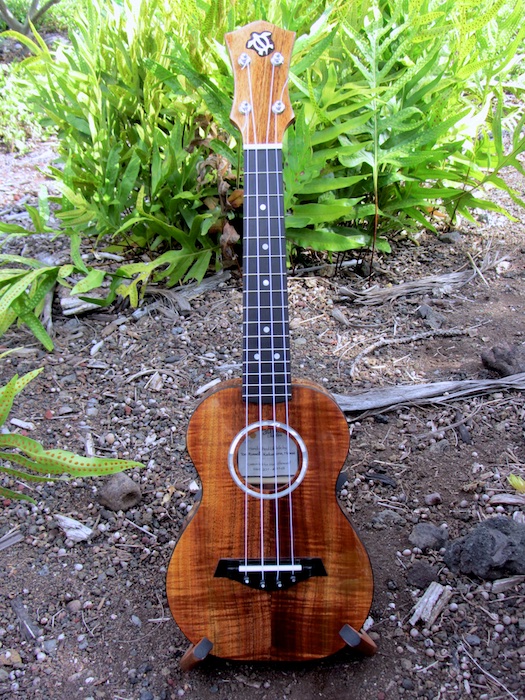
Mark, aka “the Customer”, enjoys figuring out “how-things-work” and solving issues even more than ukulele playing…ergo, this entry. I’ll share the process of fixing one of the inevitable screw-ups that occur during the build of an ukulele. This will be a long entry.
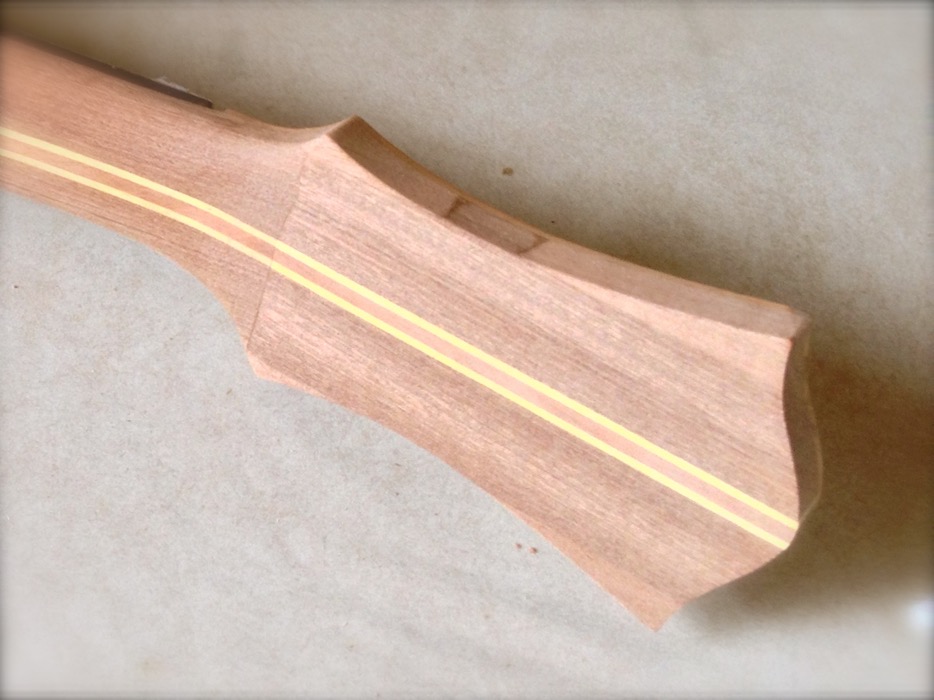
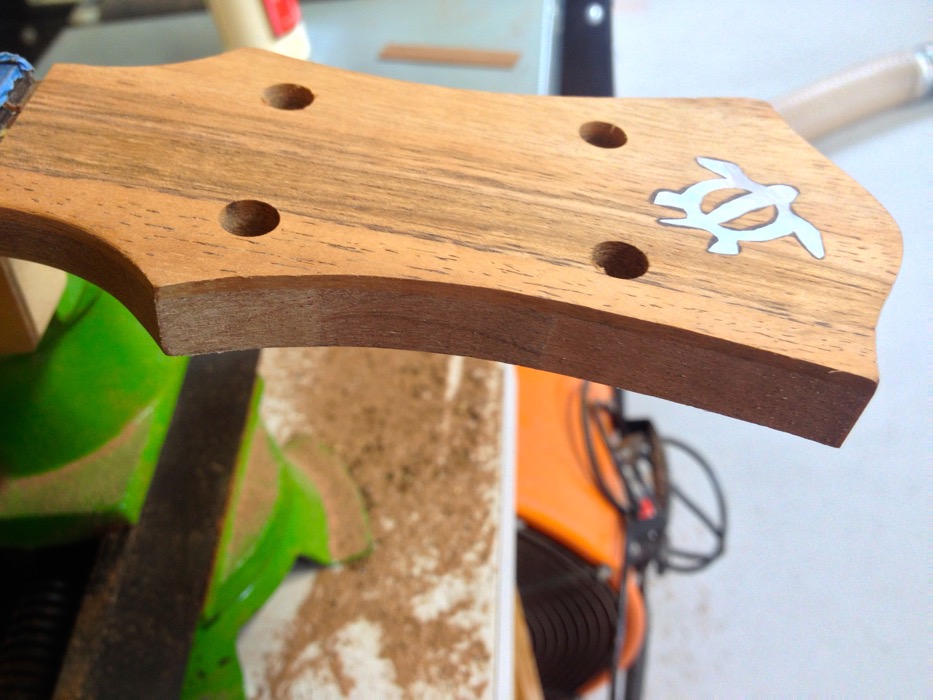
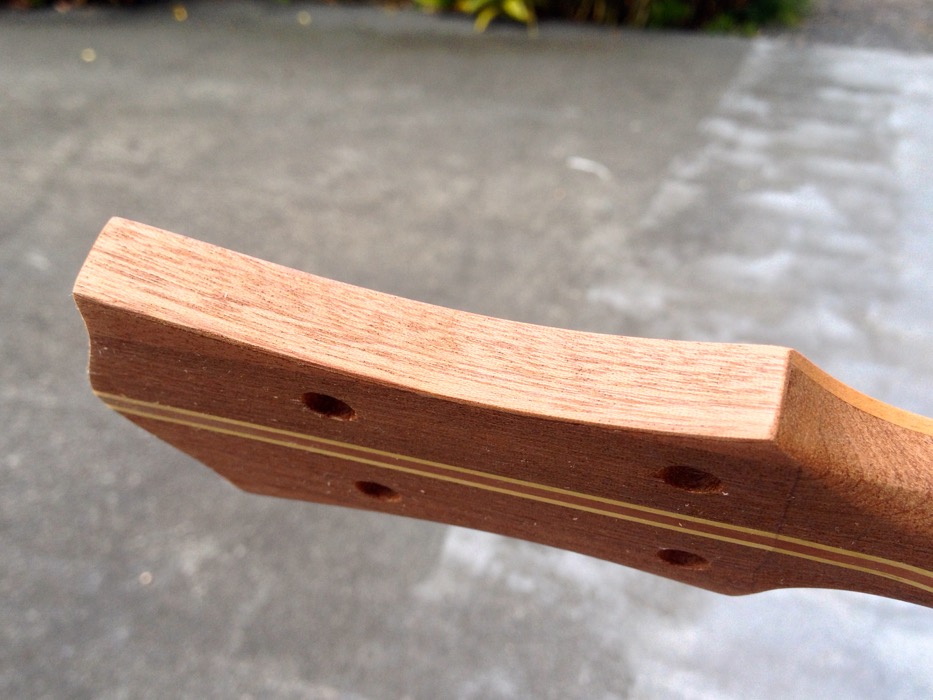
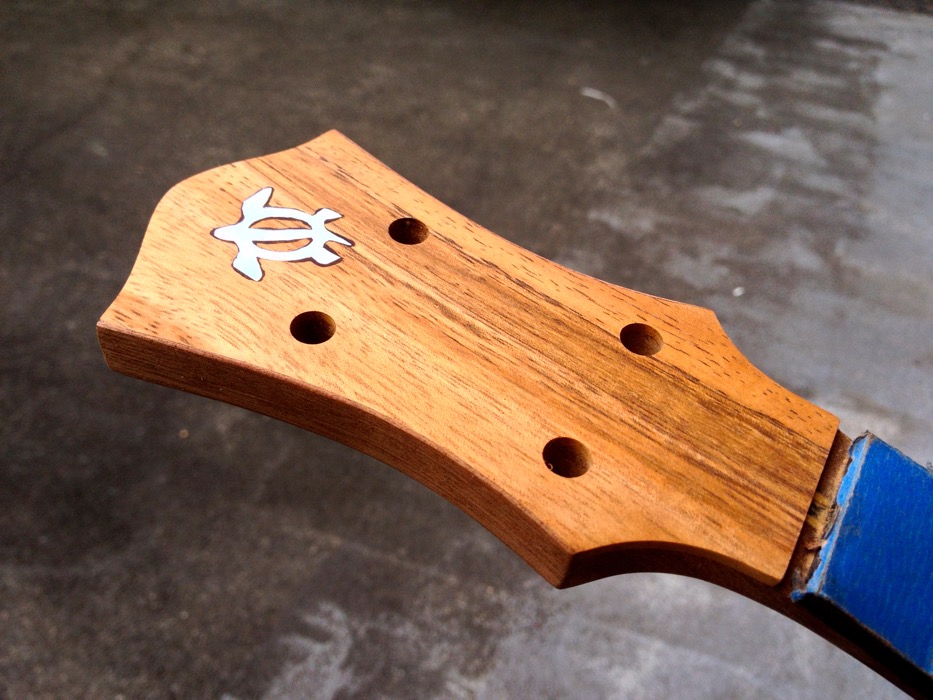
The first 2 pictures show the problem. Because of the neck stripe I added, the neck was wider than the typical 2″ width. The headstock width prior to adding ears was about 2.19″. When I shaped the headstock with a nice inward-flowing curve, that extra width caused the curve to go past the ear to headstock glue line. Long way of saying you can easily see the difference in wood color along the headstock edge. Lacquer would only further highlight the color differentiation.
First up was deciding the best method to fix it. I could:
- Add a bit of Koa veneer. Issue: Might look odd having this random piece of Koa along a Mahogany edge. Can I add thin veneer along a curved surface and have it “look good”?
- Add a bit of Mahogany veneer. Issue: How will it look from the front Koa headstock? Also the curved edge issue from #1.
- Tinting/staining the edge. Issues: Possibly/likely bleed into the koa. Staining will not cover the differential in wood colors
- Cut back the headstock edges and add a new set of Mahogany ears. Issue: Ruins the look of the Koa headstock front. Not much room to cut before hitting the peg holes.
- Cut back the headstock edges and adding a contrasting set of ears. Issue: Would seriously detract from inlay design element.
- Punt…aka, do nothing. I punted on this idea. This uke is looking too pretty!
I won’t go into the decision process but decided to go with #2, Mahogany Veneer. Mahalo to my friend and fellow luthiers, Chris and Woodley, for their valuable input.
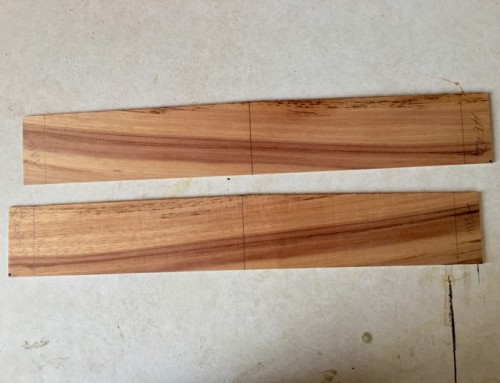
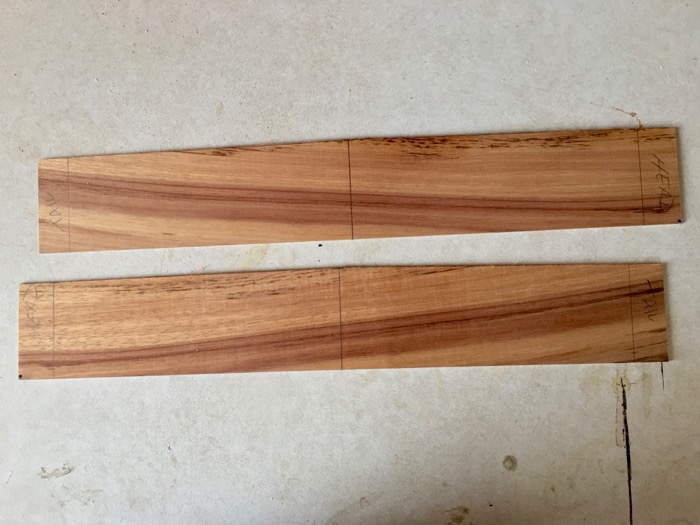
Step 1: Make veneer. This went far easier than I expected. After slicing off a strip with the bandsaw, I used my Jet 16-32 drum sander lightly taped to a shooting board to dimension. Amazing machine! On a test piece I went to 0.012″ or less than 1/64″. Final veneer used was 0.031″ or about 1/32″.
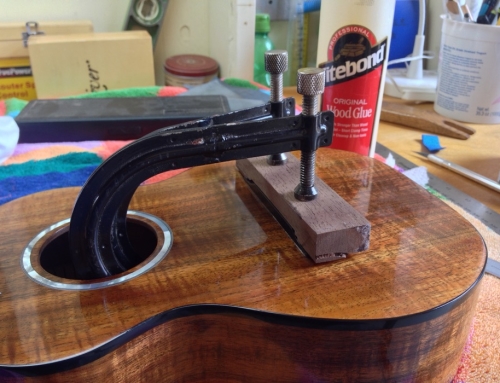
Step 2: Make glueing / clamping cauls. Piece of ply, the bandsaw and spindle sander made quick work of this step. Was a touch tricky getting the cauls to mate “perfectly” with the headstock edges. Stapled wax paper on the cauls to insure I didn’t end up with a new problem.
Step 3: Glue ’em on. One at a time just to lower my stress level.
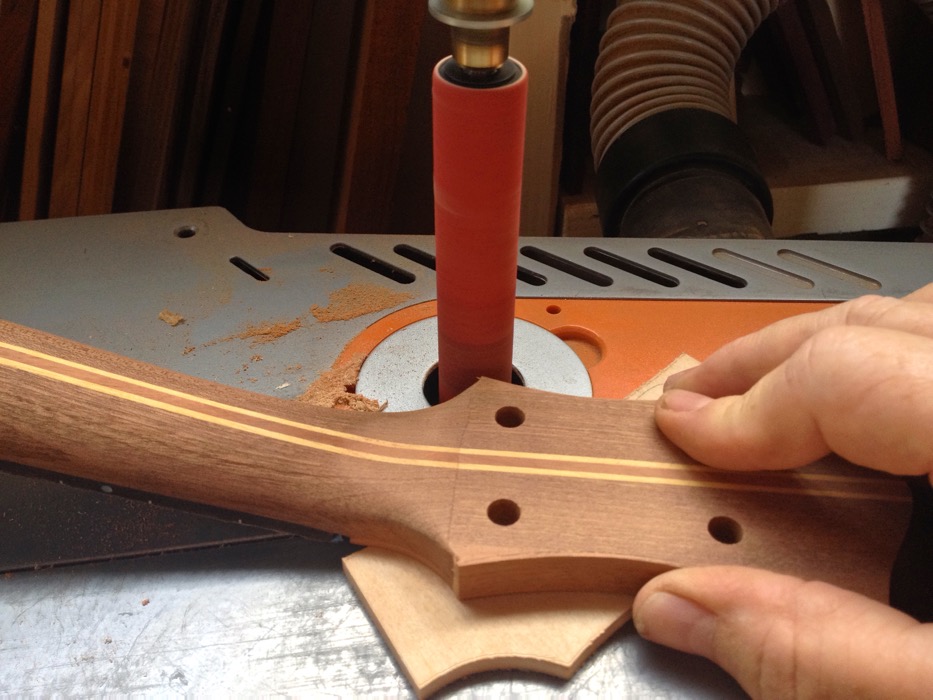
Step 4: Day 2. Sand down the front and back edges first. Used the 12″ disc sander very carefully to get to 1/16″ off the surfaces. Hand sanded flush to surface.
Step 5: Sand the veneer’s end-grain. Good opportunity to split the ends into the area I needed to keep on this step. Used the spindle sander to bring down the excess to about 1/16″ with the spindle spinning towards the neck to create a supported edge. Then hand sanded flush to surface.
Extremely pleased with the results. The sides look integrated with the rest of the mahogany neck and the veneer from the front is virtually invisible. If anything, it looks even more finished than before with the thin veneer giving the headstock a “bound-edge” look. I may even do this to other ukuleles in the future! 😆
I think that the screw up will add a very interesting talking point to the Uke in the future. The fix is very creative and I enjoyed reading through the options and thought process that led to the decision. Thanks so much for all the effort!