


Weather has been very wet and humid lately thus delaying the finishing process. Spent considerable time reviewing various pore fill techniques balanced by what’s available on the island (not much!).
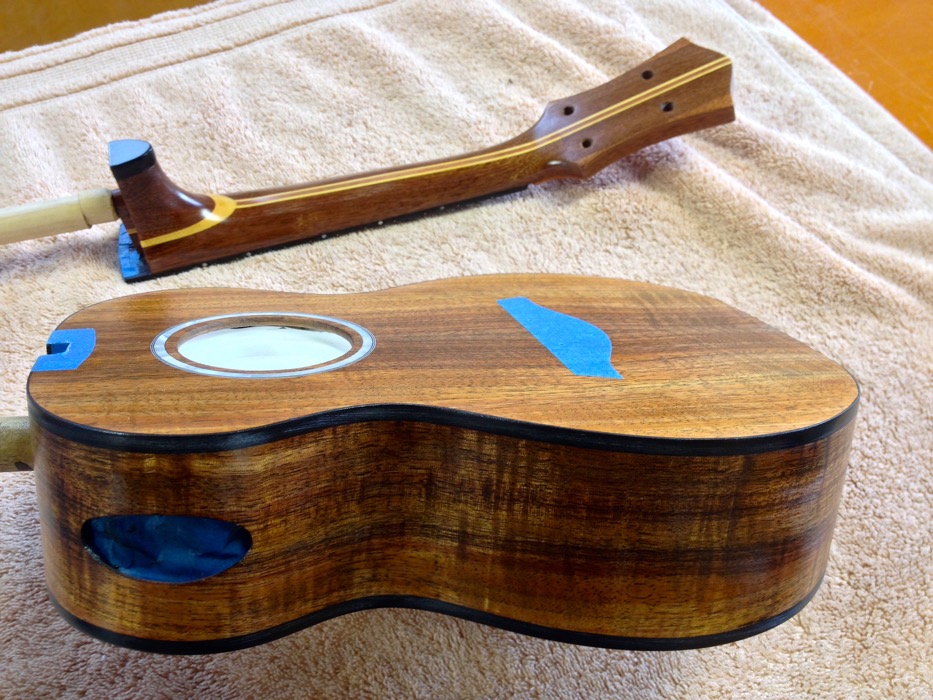
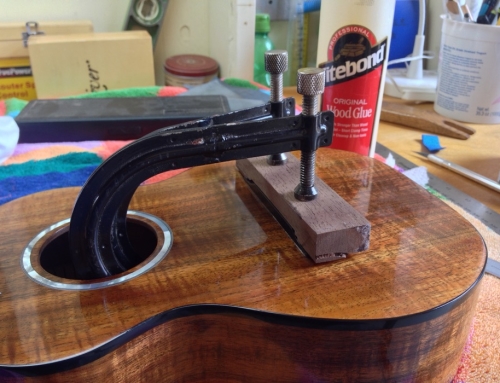
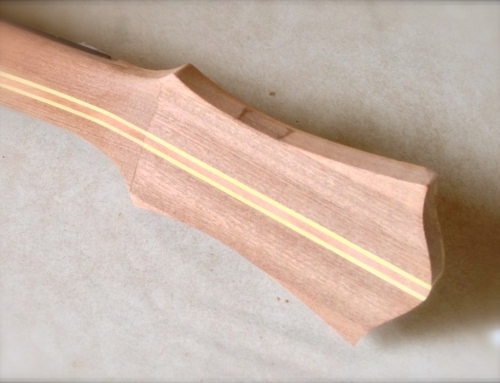
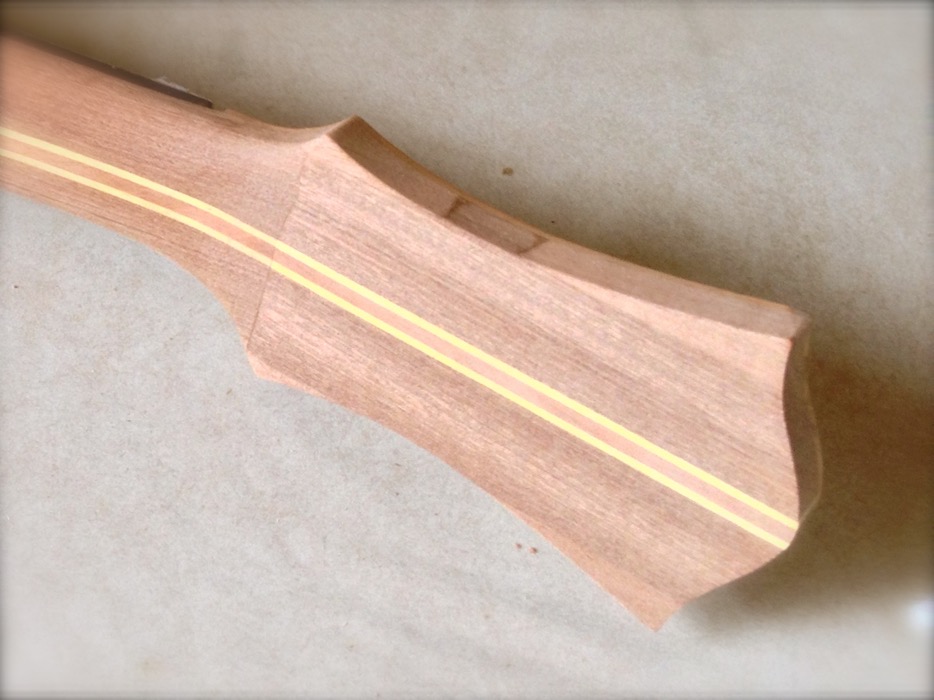
After positioning and taping off the bridge and fret board areas, it’s time to pore fill to give the ukulele a smooth-as-glass appearance (very aspirational!). Fellow professional luthier, Tom Parse, swears by using black dye mixed with joint compound. Sounded crazy to me. After trying it out on various wood species, decided to give it a go on the Koa body but use a Sherwin-Williams product that looks like smooth peanut butter on the mahogany neck.
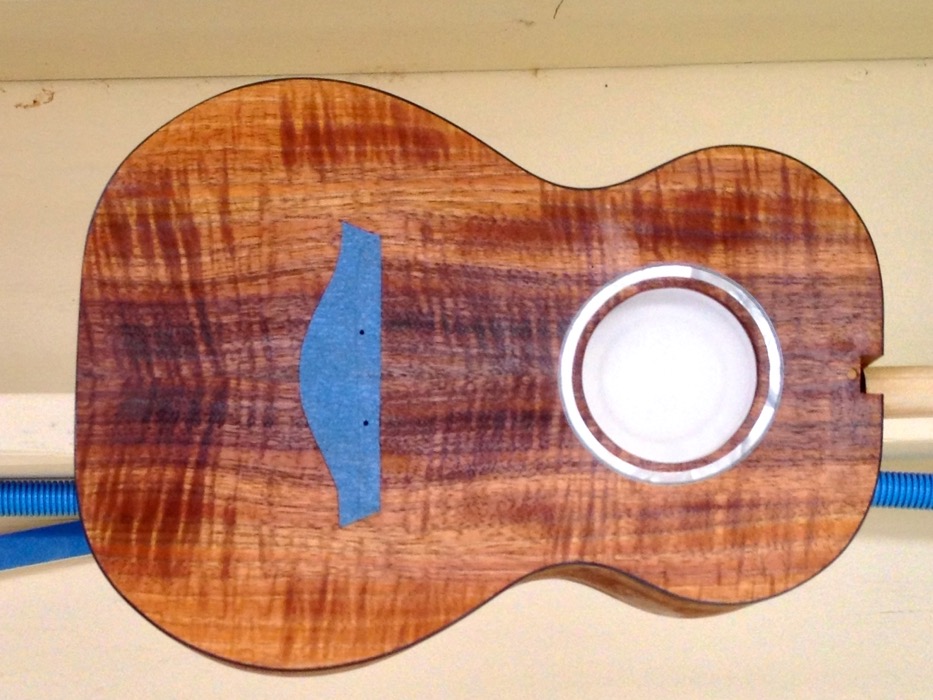
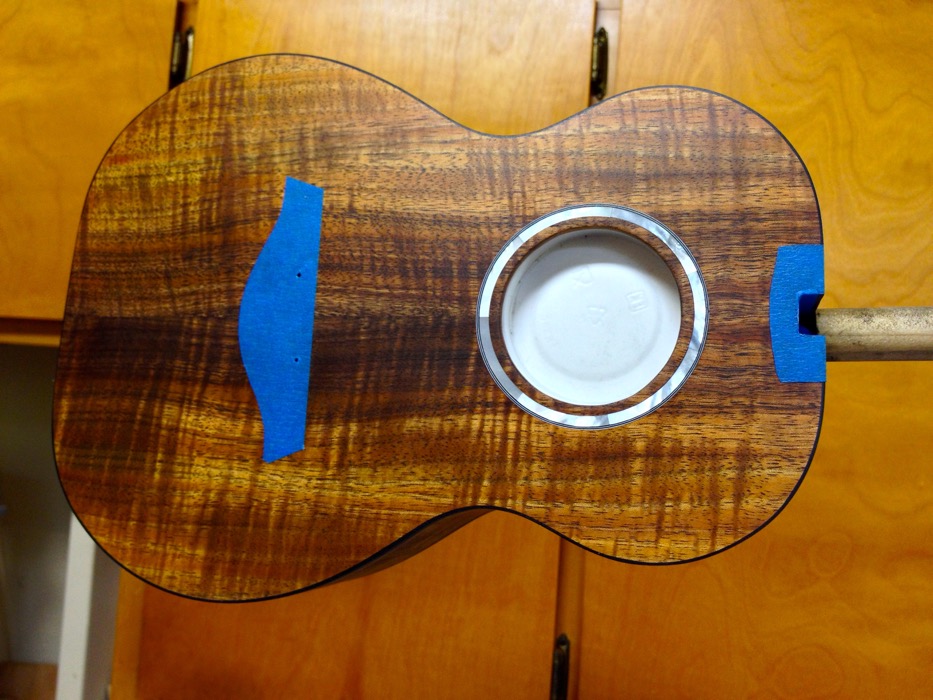
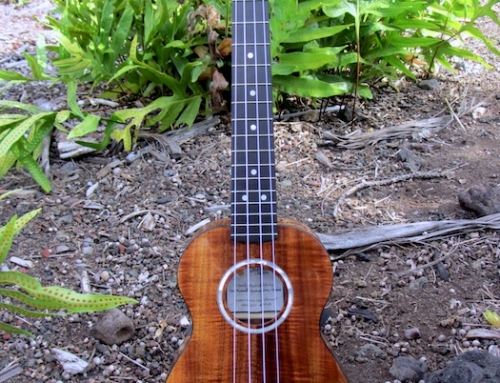
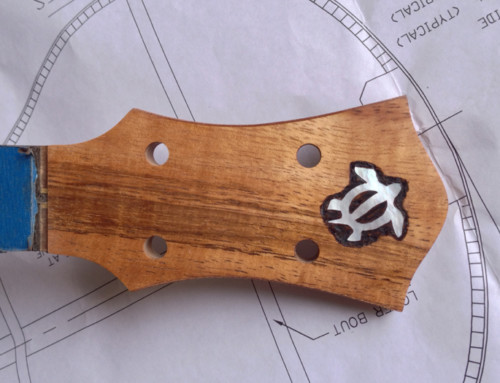
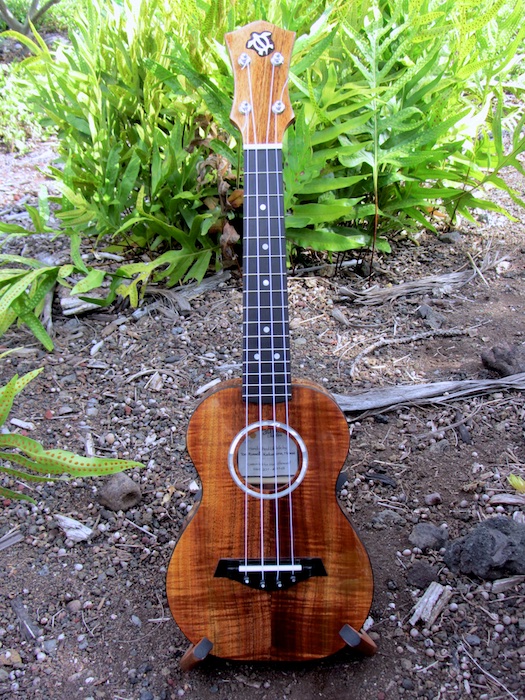
First step was coating the wood with a couple of coats of shellac to protect the wood grain from being stained by the pore fill. Then, spread on the black joint compound (first photo). Must say I was pretty nervous about ruining this ukulele! Once dried and sanded off you can compare the results. Photo 2 & 3 show the “before” and “after”, respectively (use the arrows to flip between the photos) . You really notice the difference in the pure brown areas. In the “before” uke, the brown areas look a little boring. The “after” uke has much more depth. Photographing Koa is never as impressive has seeing it. Tilt the Koa a few degrees and it looks very different. Anyway, I’m impressed with this process.
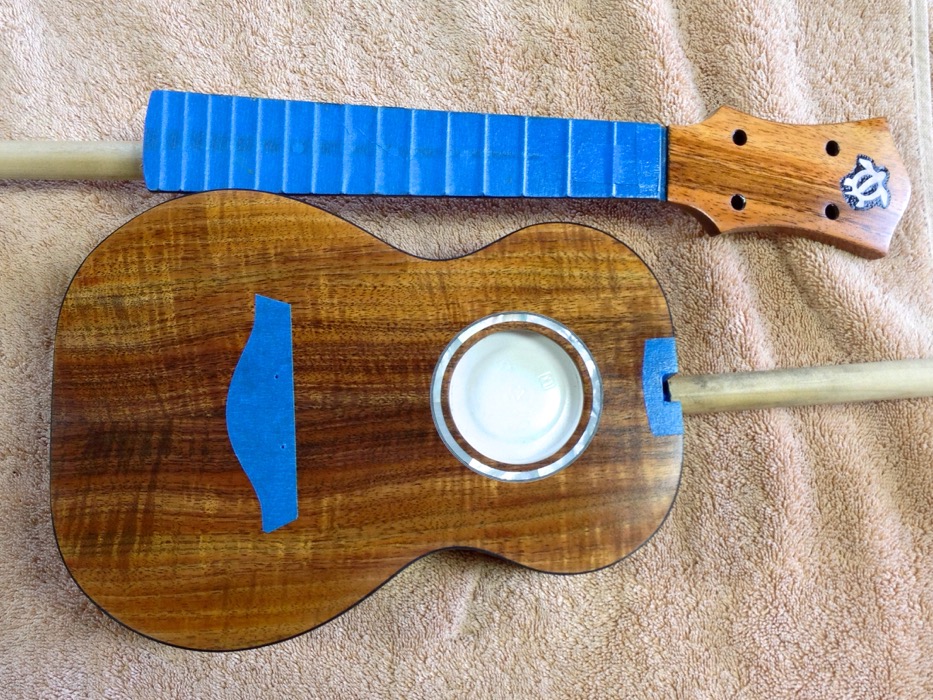
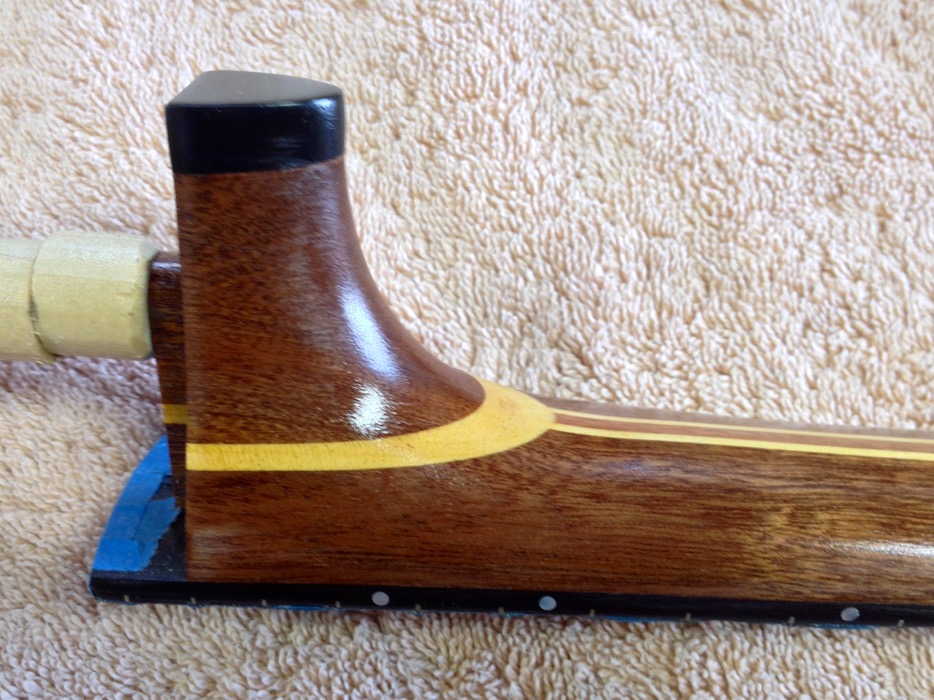
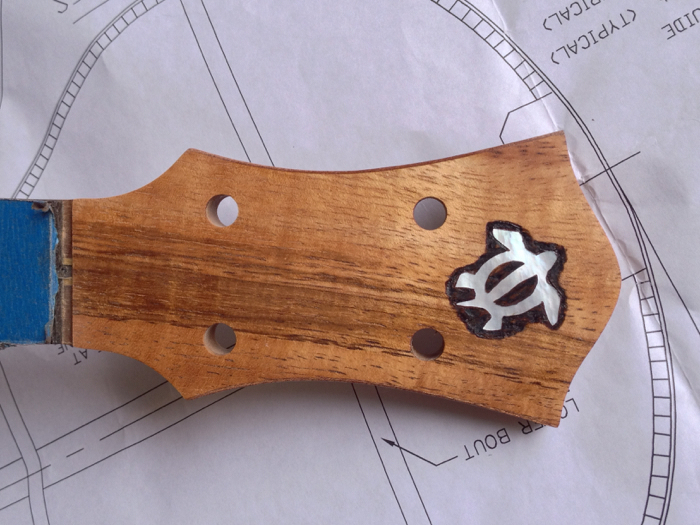
I was able to add a couple of coats of sealer, then a couple of lacquer, before the weather shut me down. Lacquering during humid weather invites blush and other nasties that can ruin a finish. I’ve added a few photos to give an idea how it looks. Another 6~8 coats will really make this ukulele shine!
Leave A Comment
You must be logged in to post a comment.