The ukulele needed to be put to the side as my wife and I traveled to Japan to hike the Kumano Kodo Pilgrimage Trail then we had visitors to our little island. Oh well.
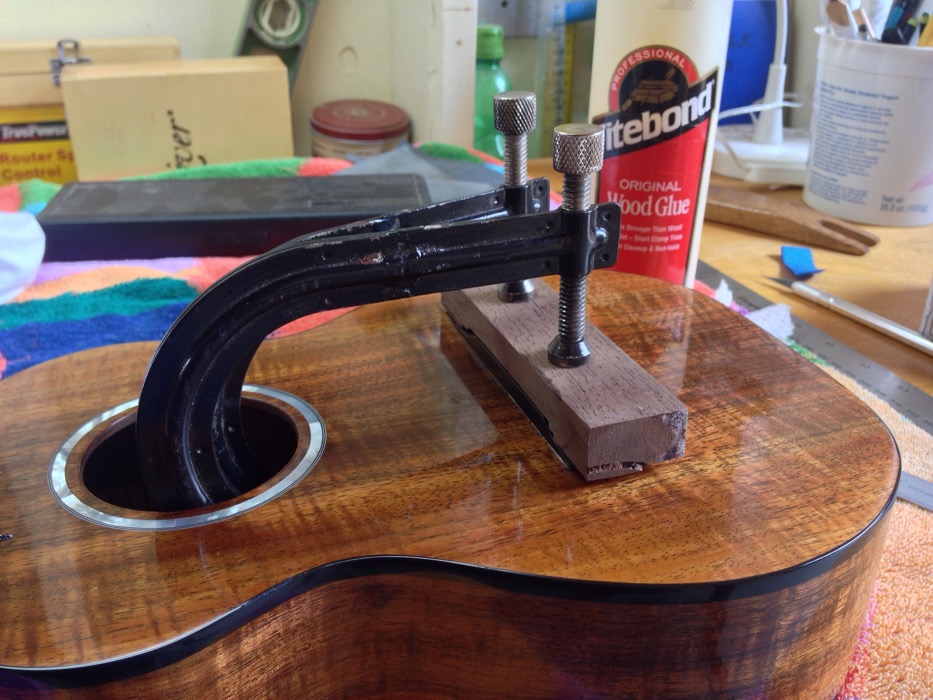
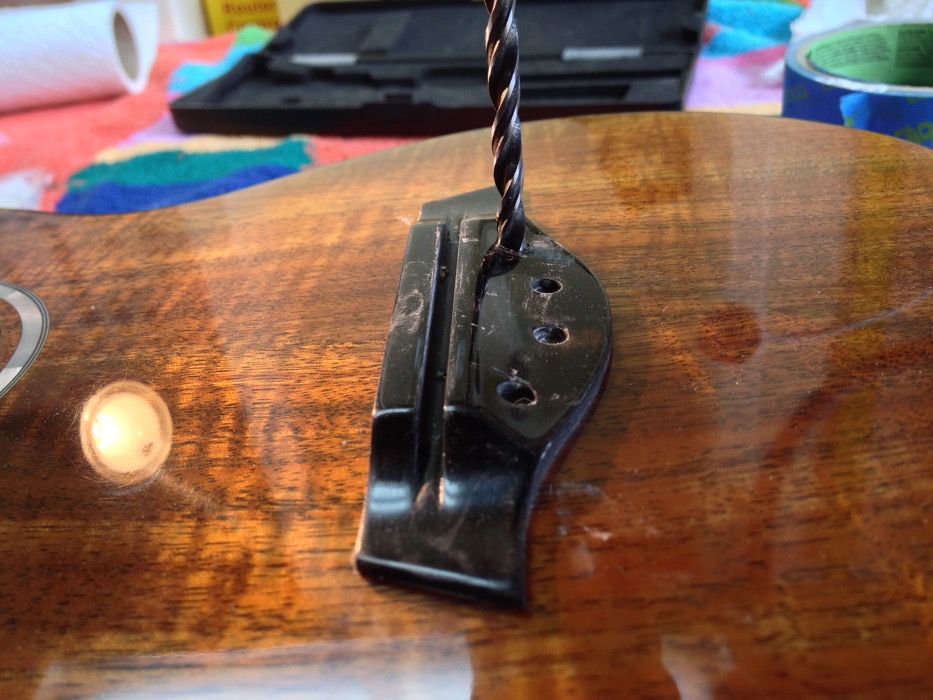
I’m going to gloss over the finishing process 😉 . Suffice to say that many hours of spraying lacquer, sanding, repeat (10x), then sanding to 12000 grit and finally buffing ensued. Now for the finishing touches. I taped off the area where the bridge goes. Big debates on whether taping or spraying the ukulele then scraping off the lacquer for the bridge is the best way to go. Taping works for me. Now it’s simple matter to glue on the bridge with some special bridge clamps, drilling through the body, then reaming out the peg holes to finish the “build process”.
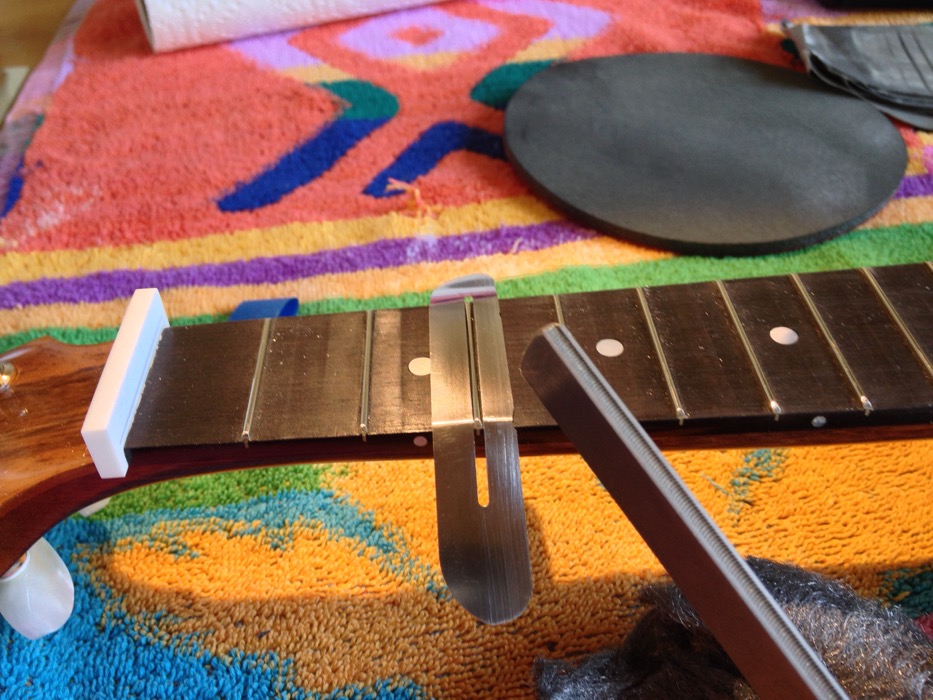
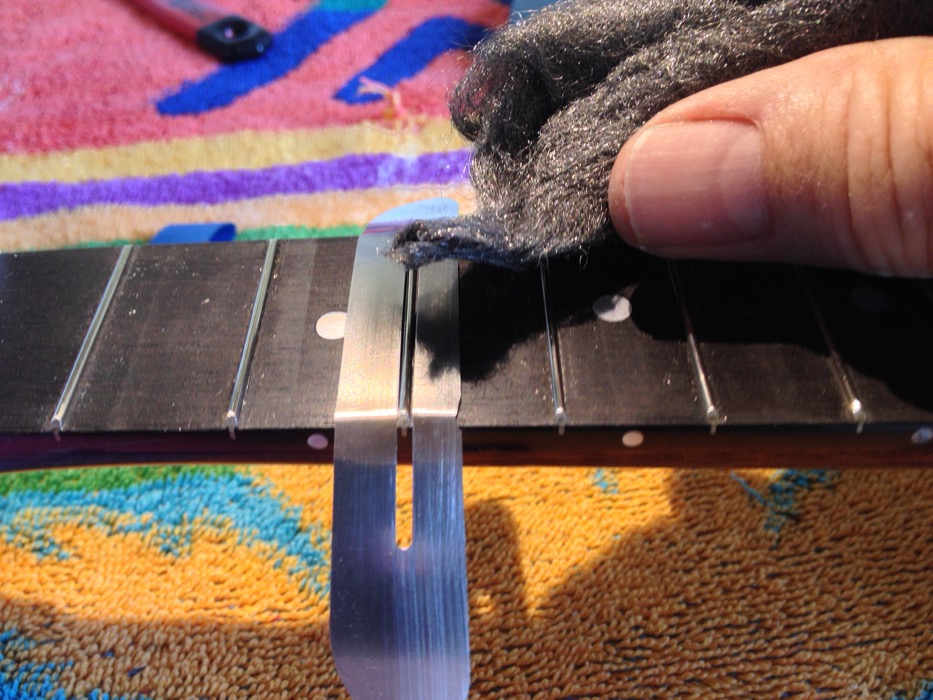
I spent a few hours dressing the frets by first insuring all the frets are flat using a “fret rocker” to find high frets. A large diamond flat bar makes flattening the frets to the same height relatively easy. Then using a variety of very expensive and specialized files, I take the sharp edges off the fret ends and “re-crown” the tops of the frets. A bit of micro-mesh sanding and steel wool makes them shine!
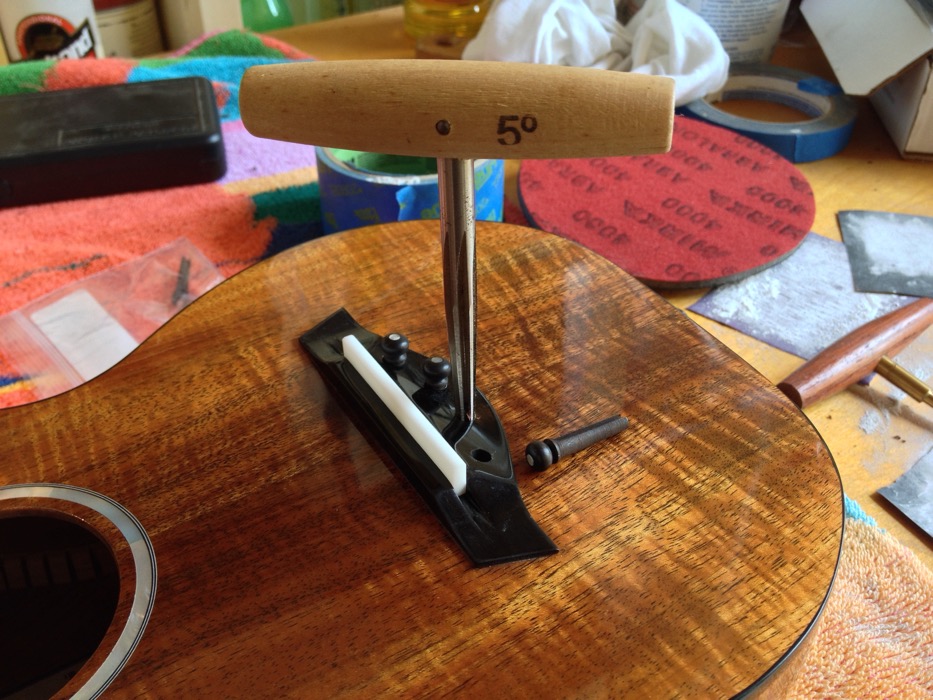
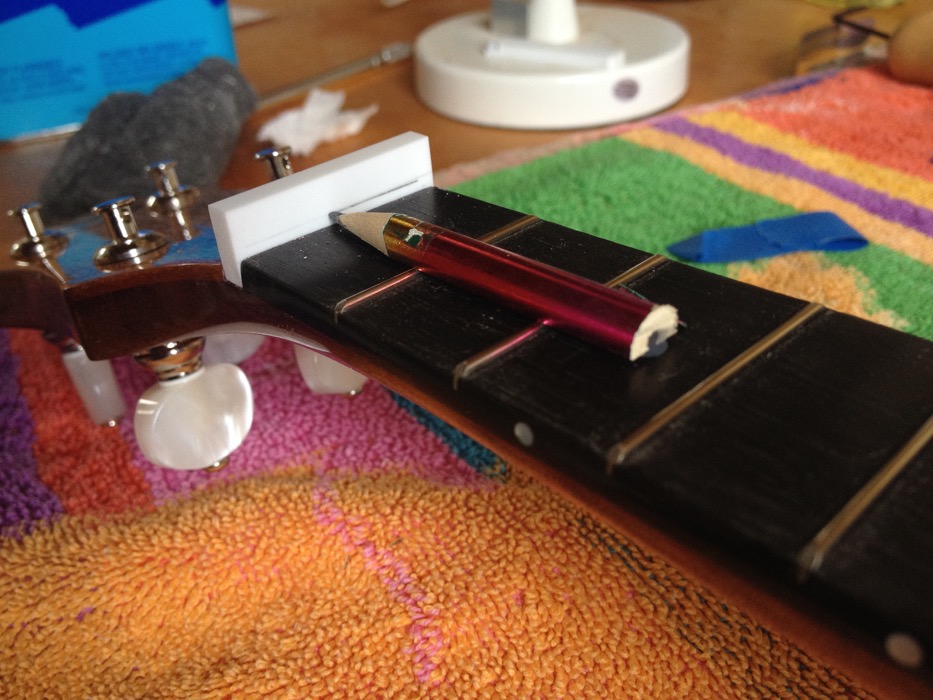
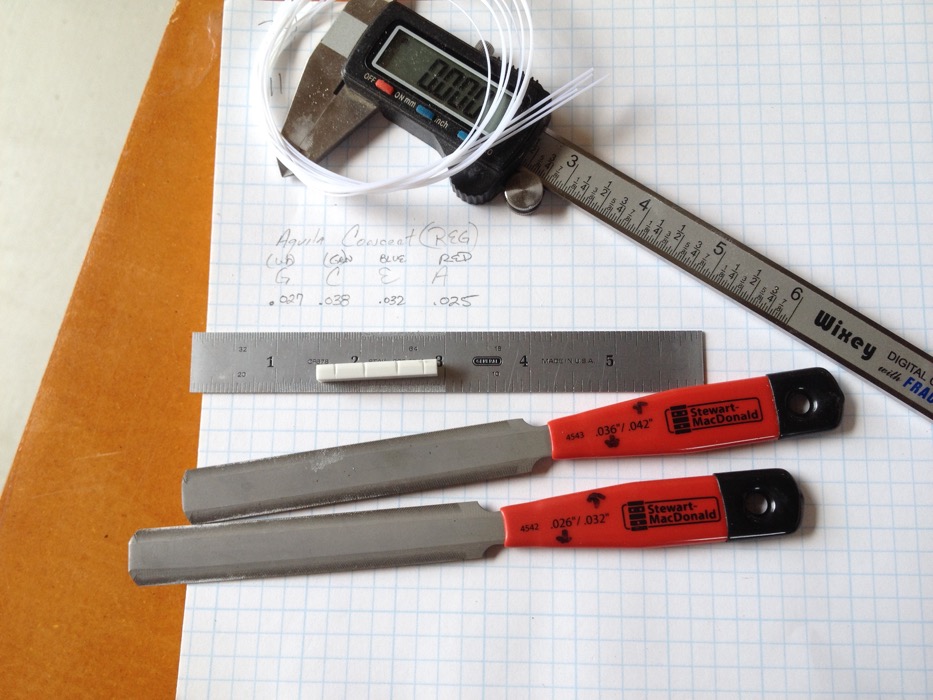
Adding the saddle is a simple matter of shaping some Corian (or bone when I have some) to fit. Adding the nut is also straight forward. Just need to mark the height of the frets on the nut which is easily accomplished with a “flattened” pencil and adding about 1/16″. The nut is slotted after determining the 4 string widths. A loose or overly tight nut slot is sure to create buzz.
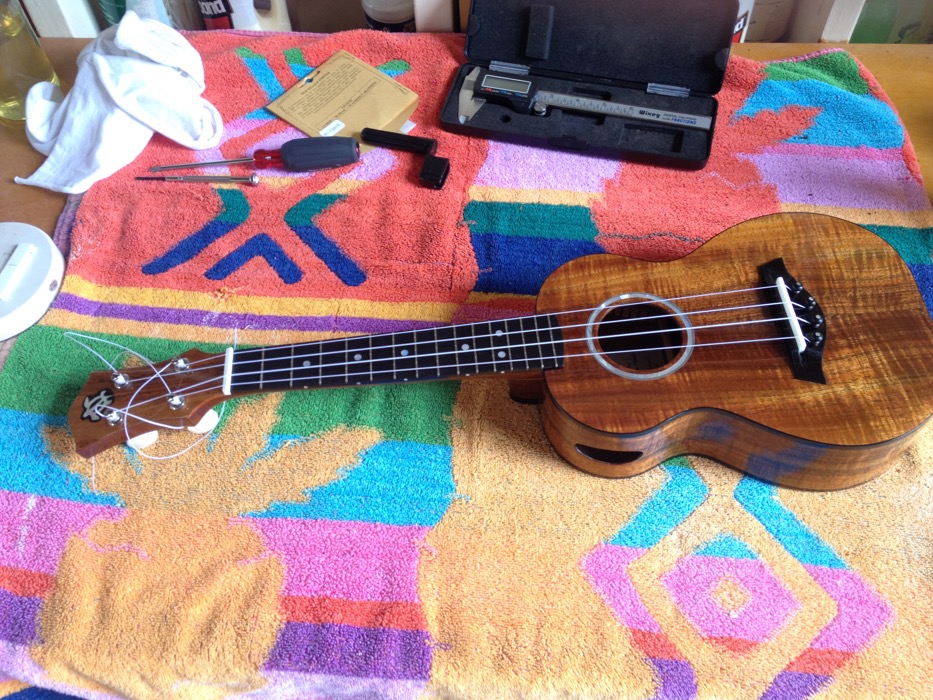
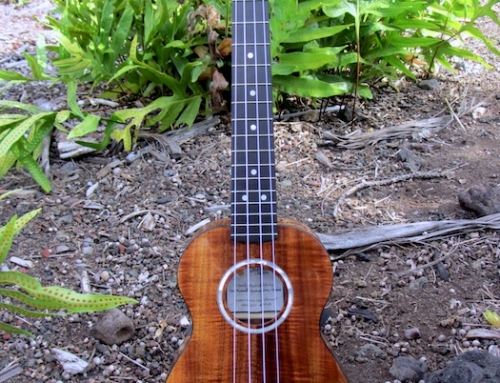
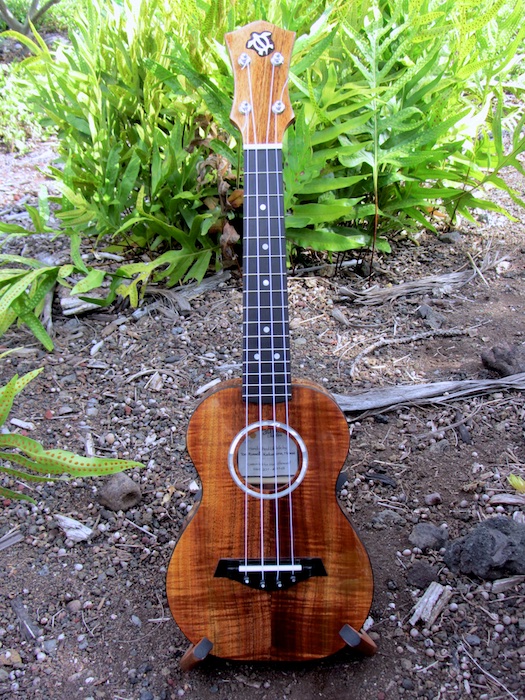
Added strings and there you have it!
Leave A Comment
You must be logged in to post a comment.