Today was a day of a lot of work and so little to show for it. 😕
The neck has been on hold while waiting for a new saw blade with a Flat Top Grind (FTG) to cut channels with a flat bottom. It arrived (yay!), so I cut channels in both the neck (side facing the fretboard) and the fretboard. The neck channel had to be smack in the middle due to the racing stripe. I also sized a piece of carbon fiber for that channel. Carbon fiber isn’t really necessary for a concert-sized uke, but it makes neck/fretboard alignment a snap and I’ll need the neck channel to align the neck in my new mortise/tenon neck jig I made recently (stay tuned!). I also trimmed the fretboard to size at the nut.
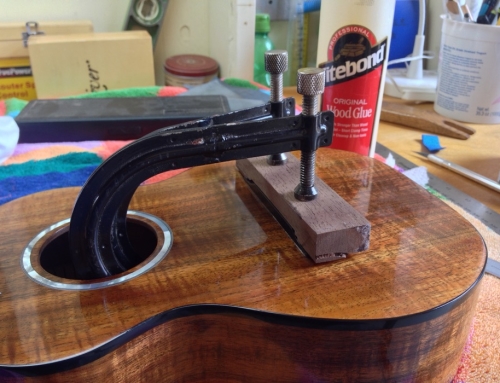
Wrapped up the day by glueing up the heel blocks. Decided to add an 1/8″ strip of Yellowheart between the neck and the heel blocks to (hopefully) blend the racing stripe to the heel. We’ll see.
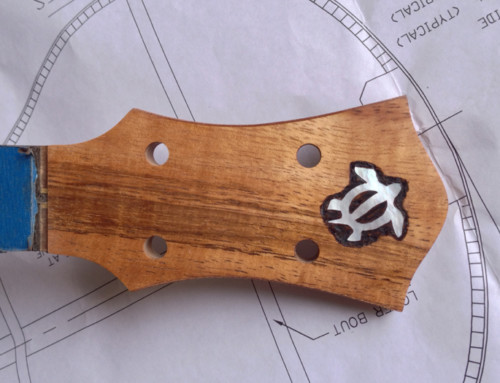
Tomorrow, I’ll add the headstock and ears. I’m waiting for a set of concert-sized rosette rings so I can continue building out the soundboard. I almost used a set of tenor rings…that would have been a bummer.


This is looking so cool, can’t wait to get my hands on it! Is the carbon fibre for rigidity or alignment or both? Off to play practice on #1 right now.
Usually it’s about rigidity. With the rod in place, I can choose to taper the neck thinner providing a lighter ukulele, better balance between the neck and body and potentially smoother/easier chording along the upper frets. Typically the rod (profile is actually rectangular) is buried into the neck but I leave it a touch proud (1/16″ inch) to mate up with a channel in the fretboard. So the added benefit is alignment, both for neck/fretboard alignment and on a variety of neck jigs I use to route, shape and other general neck work.
Ok. “Full Disclosure”. A professional builder once told me that ukulele building is all about fixing mistakes along the way. A true “luthier” will either fix those mistakes as if they never occurred or integrate it into a form of “design element”…And I agree.
Today I made a boo-boo. Actually 2, but who’s counting. First up, the fretboard channel slot. I was so pleased to get the saw blade that I ripped that channel right away. Perfect! Unfortunately, as you can see in the photo, the channel goes end-to end. Boo-Boo #1! As soon as I turned off the tablesaw, I said “oh, darn” (actually, something more salty). Left as is, you’d be able to see that channel slot where the fretboard ends at/near the sound hole. Fortunately the fretboard is ebony and ebony is so easy to repair that you wouldn’t be able to see the patch.
Boo-Boo #2 has to do with neck length. I had to make the neck blank shorter than I like due to the racing stripe and the lengths of wood I had in the shop. It might have worked as is but I also decided to use a longer scale length that a typical concert (388mm vs 383mm) and I ended up almost exactly the 5mm short! Fortunately the neck ended at the 14th fret (where it should) but I had no extra length to route out the tenon to mate with a mortise in the body. Ended up glueing on a small piece of Mahogany that will end up as my tenon (end-grain to end-grain to insure a strong joint). Fortunately figured all that out prior to adding on the heel blocks so they overlap the small piece I needed to glue up. I’ll add a photo tomorrow once the neck is out of the glue-up jig.