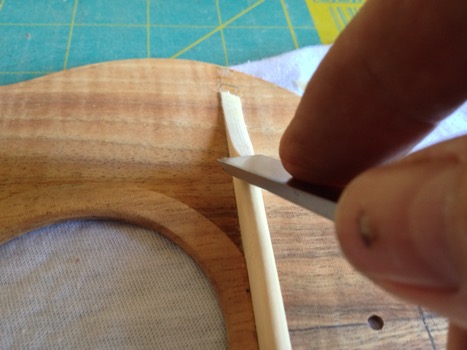
Scalloping and tapering the soundboard braces is a balance between weight and strength. Take off too much and you may end up with a cracked soundboard over time. Too little and the ukulele might feel heavy in the hands or possibly deaden the sound.
After shaping the bars, I notch the kerfing to fit the tapered bars then glue it up. The jig (the green board) holds the top in place with a simple clamp (not shown) and clamps the sides to the top with a series of spool clamps. I’m having issues with this clamp and is why the spools are held upright with rubber bands. Need to fix that someday…
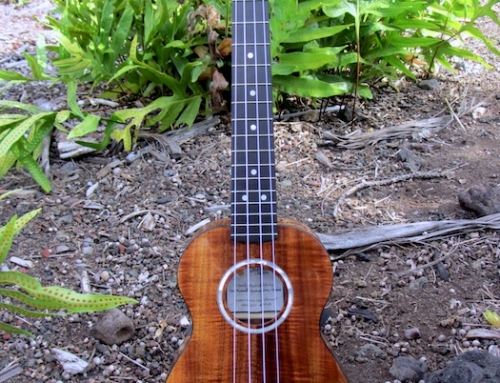
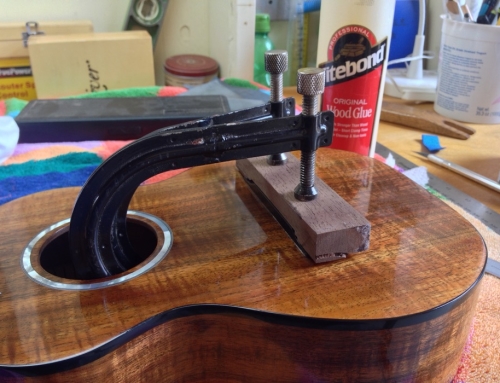
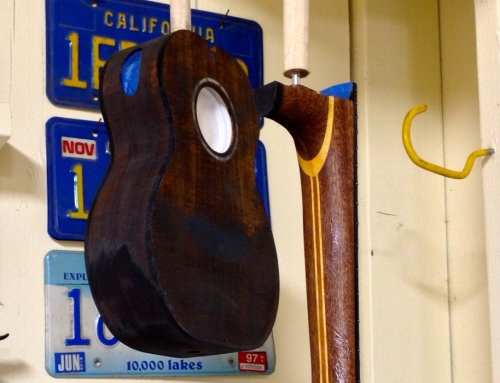
Left it to dry overnight then routed the excess soundboard edge flush to the sides. I added a number of photos of the completed top so you can see the results. A number of posts ago I mentioned adding a hole for a dowel on the soundboard and head block. This makes aligning the top to sides a snap and also prevents any slippage as glue can be pretty slick. It’s a sad day when the top slides off center during glue-up. The dowel is hidden under the fretboard when fully assembled.
While the top was drying, I prepped the back in a similar way as the soundboard (scalloping and shapes the braces). Also made and glued up a back joint brace out of some koa.
Next up…the neck.



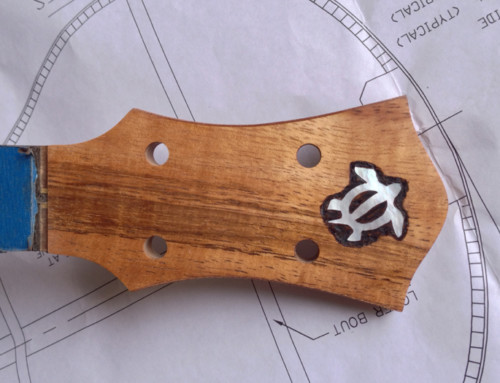
That is very cool! It looks fantastic and I can’t wait to get my hands on it. I love the Koa, I bet it wil look amazing with a few coats of varnish. Being able to follow the build along is awesome, thanks so much.