Haven’t added much to this blog lately, but I’ve been in the shop being busy!
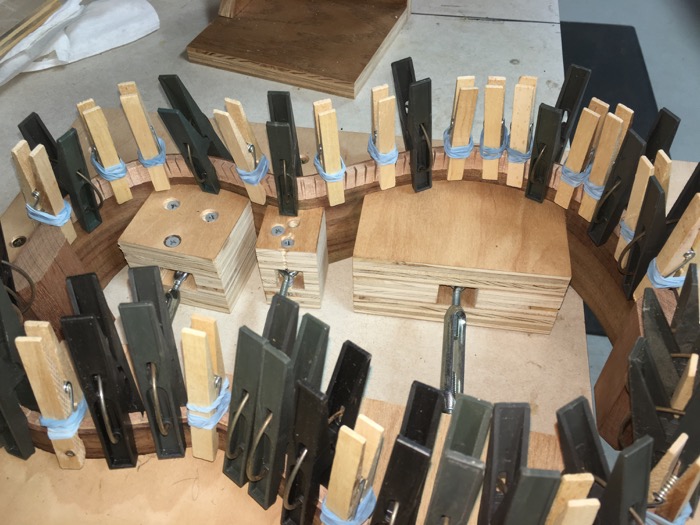
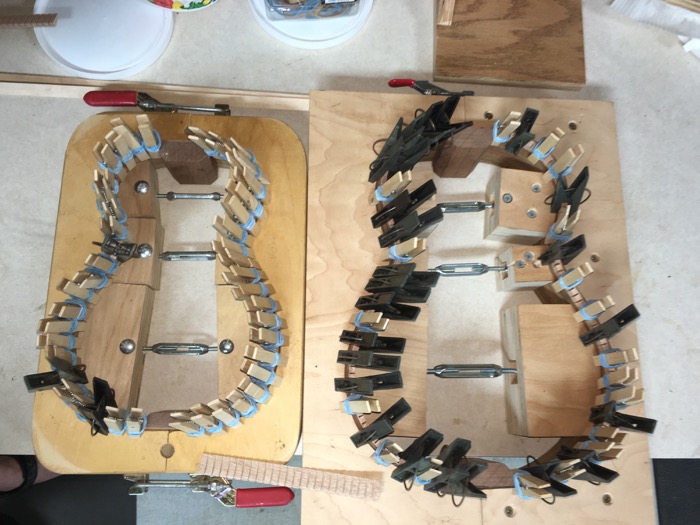
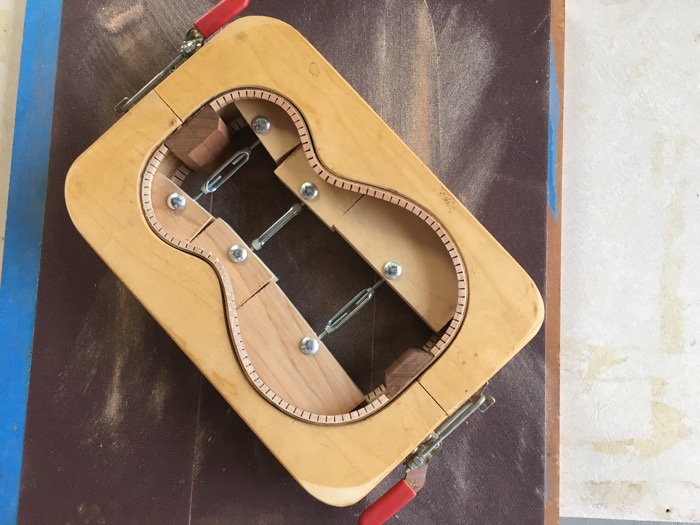
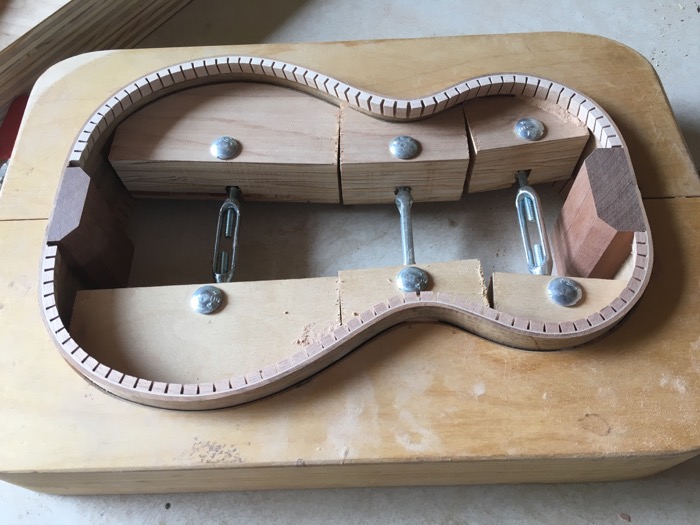
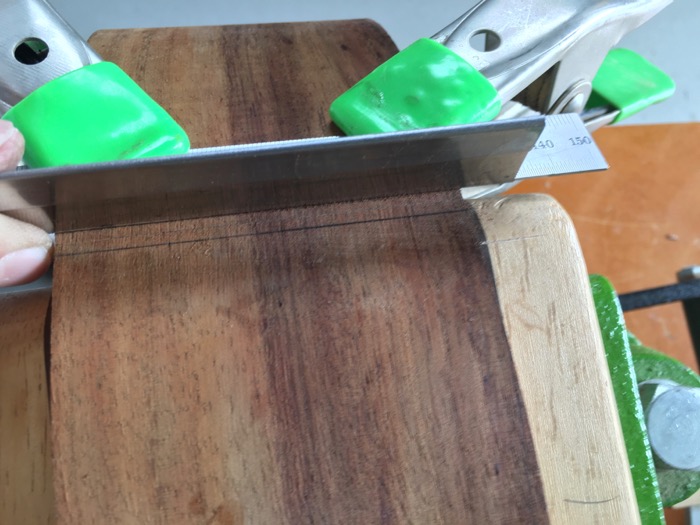
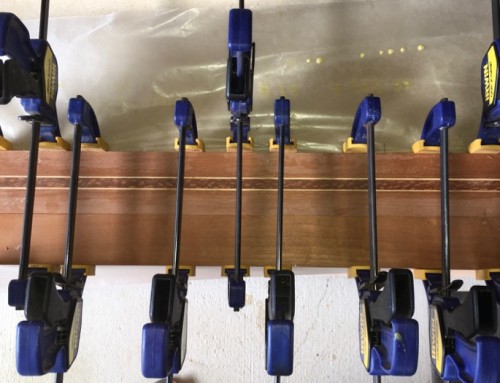
A few things need to be done to the sides before adding the soundboard and back. First up is adding “kerfing” to the top and bottom edges of the sides. Kerfing provides stability to the sides and extra glueing surface area for the soundboard/back. While not shown, I take standard kerfing (1/4″ x 11/16″) down in height for the concert given it’s relatively smaller size. Once it’s all glued in, a bit of sanding is due. The sound board edge gets sanded perfectly flat using sandpaper attached to a piece of very flat marble. The back edge gets sanded using a radius dish that has an arc with a 15 foot radius. When the uke is complete, the back is arched at this radius to aid sound creation/projection
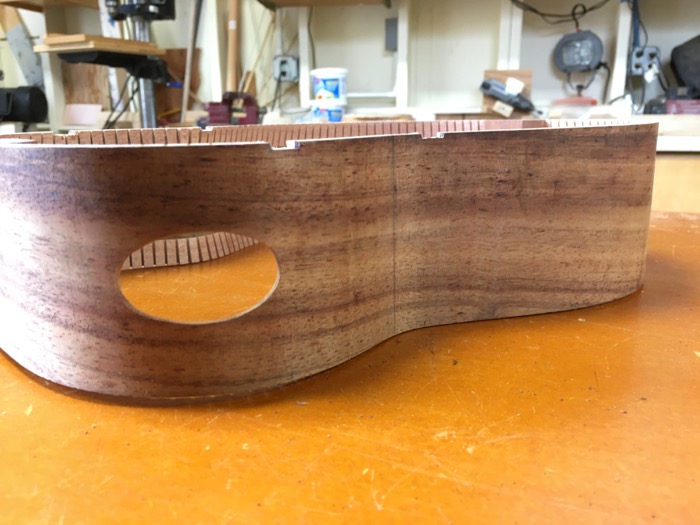
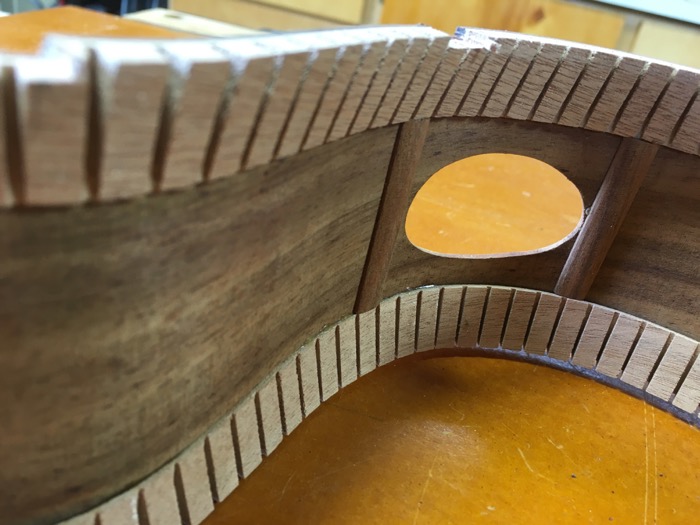
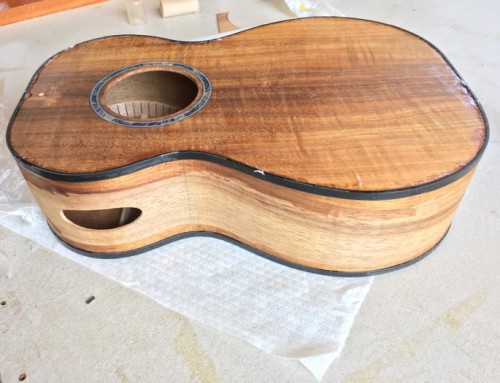
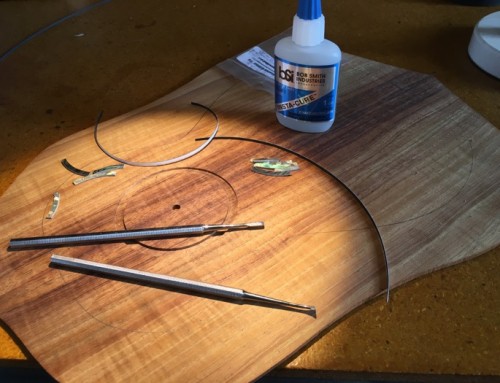
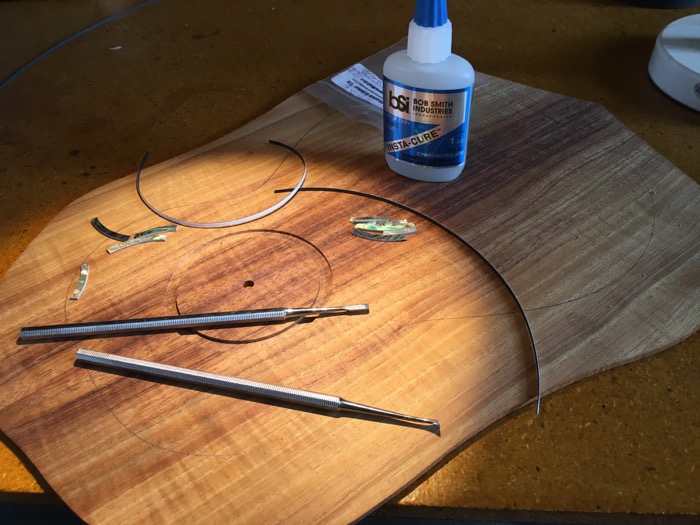
Next up is a sound port. This is an optional “feature” that provides the player with the full spectrum of sound being played. Remember that low tones are omnidirectional while higher tones are more directional. Given that the majority of the sound emanates from the sound hole, the player hears the lower tones more than the higher tones thus not giving a true representation of what is being heard by others. Adding a sound port provides a path for the full sound of the ukulele to be heard by the player. The sound port is braced internally to avoid potential cracking along the grain.
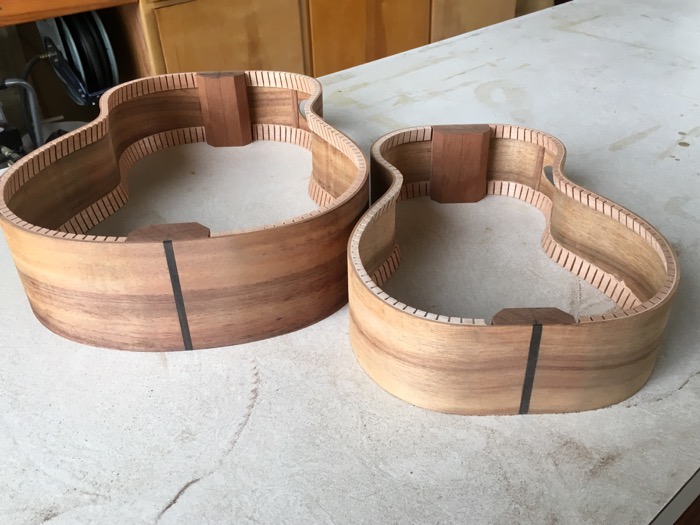
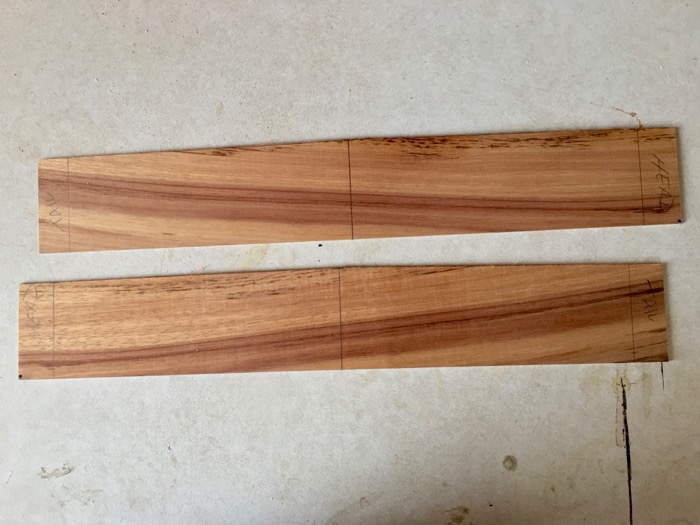
Finally I added an thin strip of ebony as a “heel patch” that both covers the joint where the sides meet and adds an interesting design point.
That’s about it for the sides. On to bracing!

Leave A Comment
You must be logged in to post a comment.