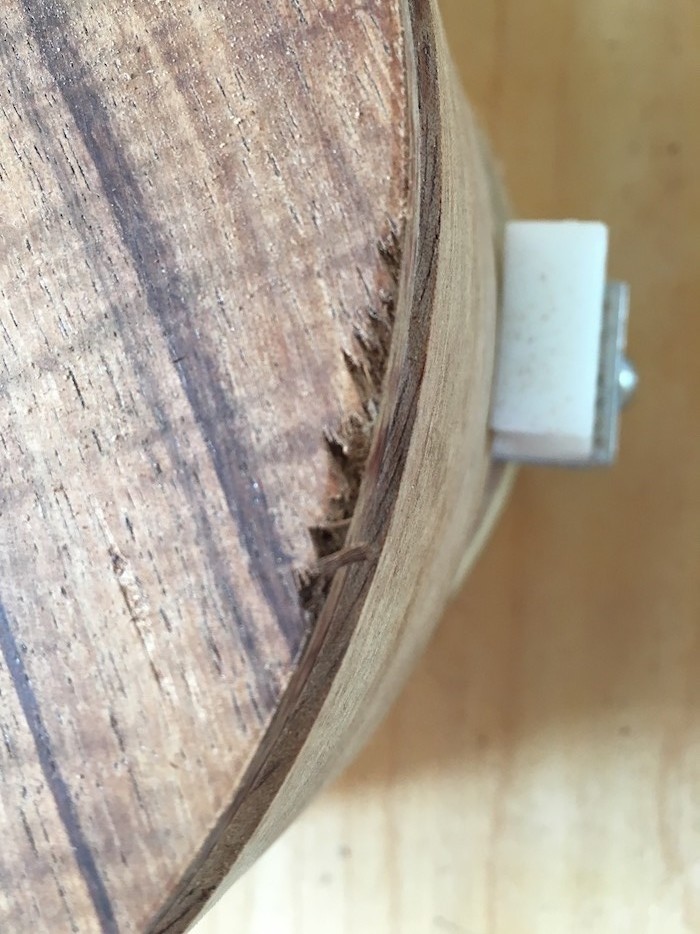
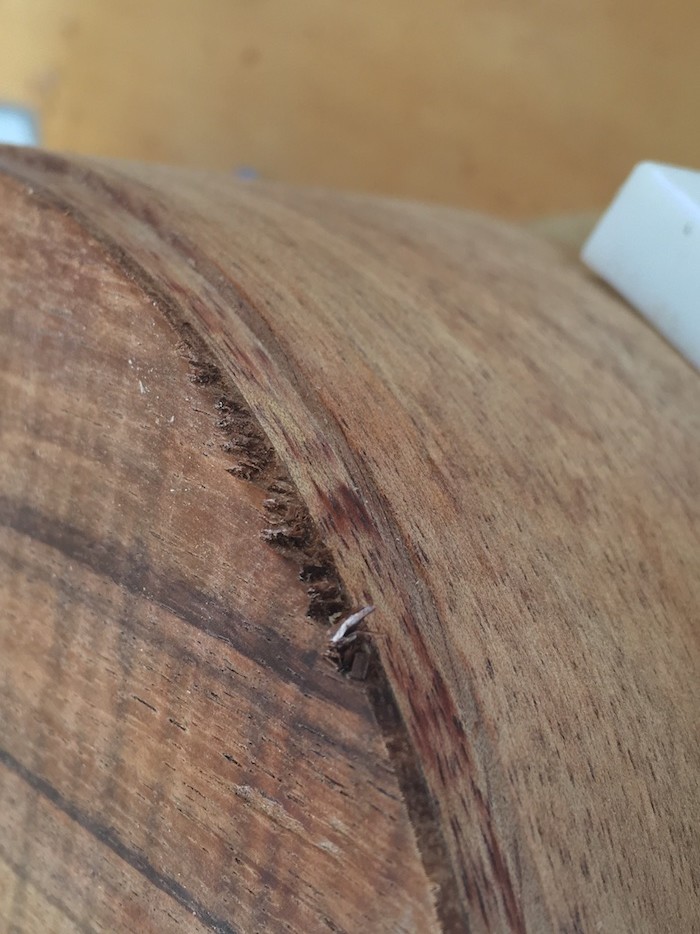
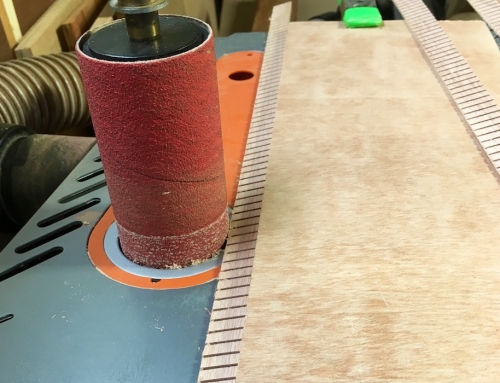
While routing the binding channel, the router “jumped” and decided to take a bite along the top of the ukulele. Fortunately, the gouges were limited to about 1/8″ in from the binding channel and about 1.5″ long. The question becomes what to do? I came up with a few ideas…

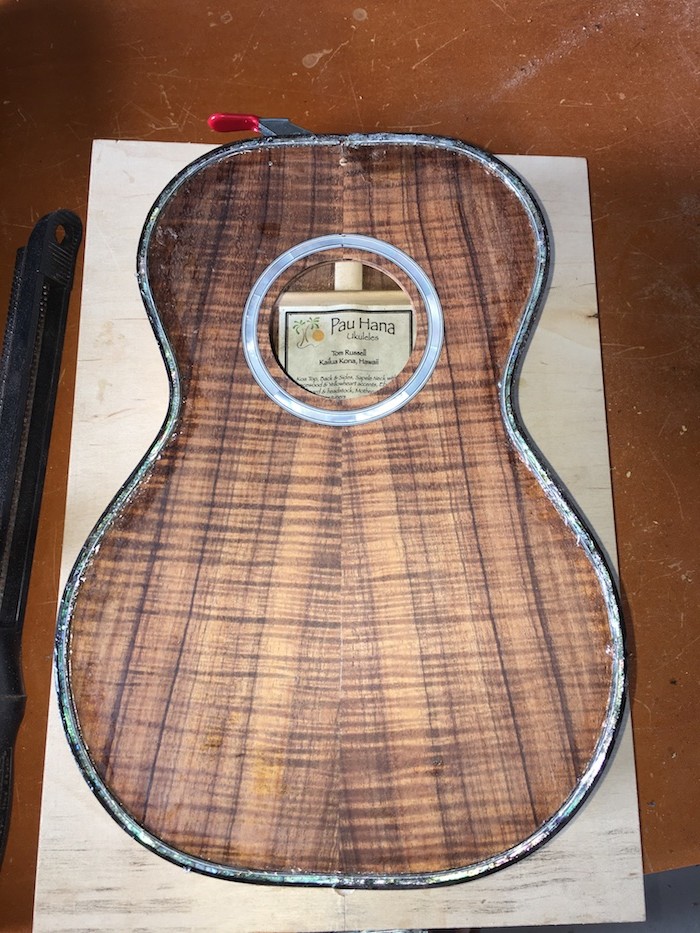
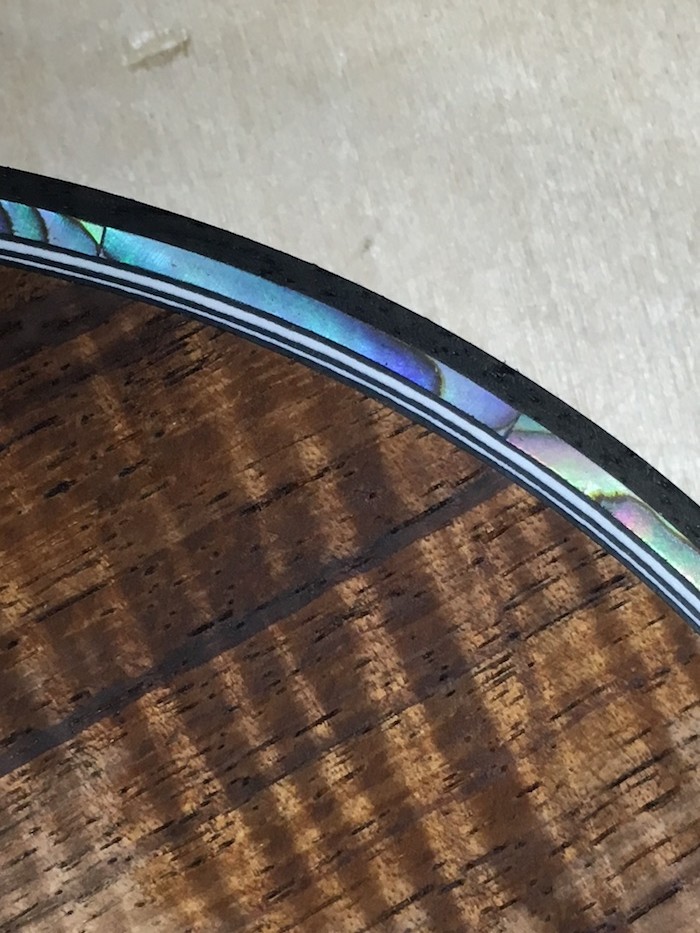
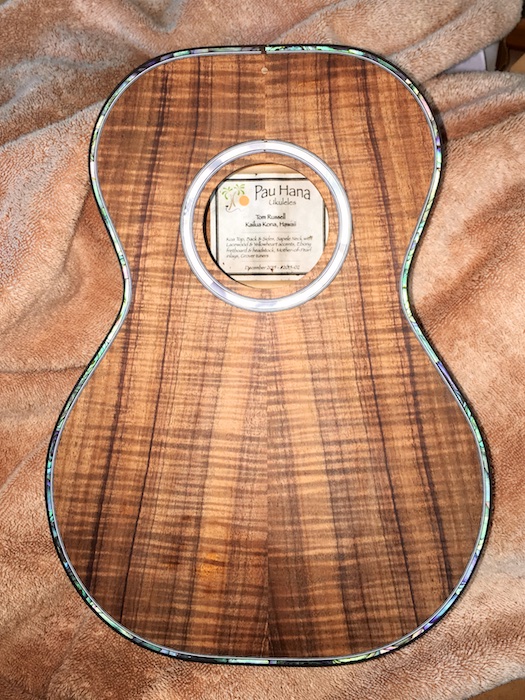
My luthier friend Woodley White of White Guitars and Ukuleles came up with the right answer. He taught me the process of adding an abalone shell inlay around the perimeter of the body. Something I’ve always wanted to learn. And it was far easier than I ever expected:
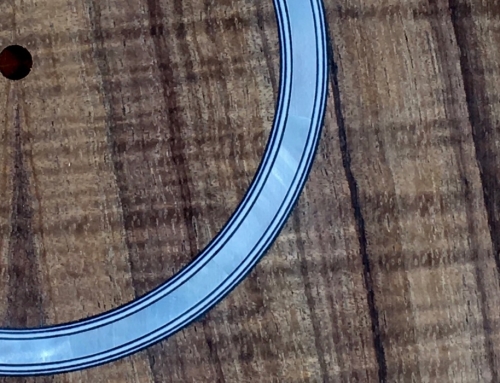
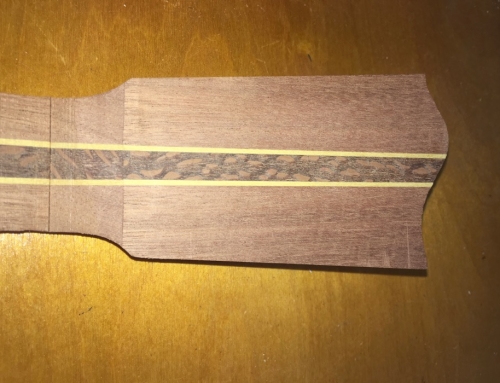
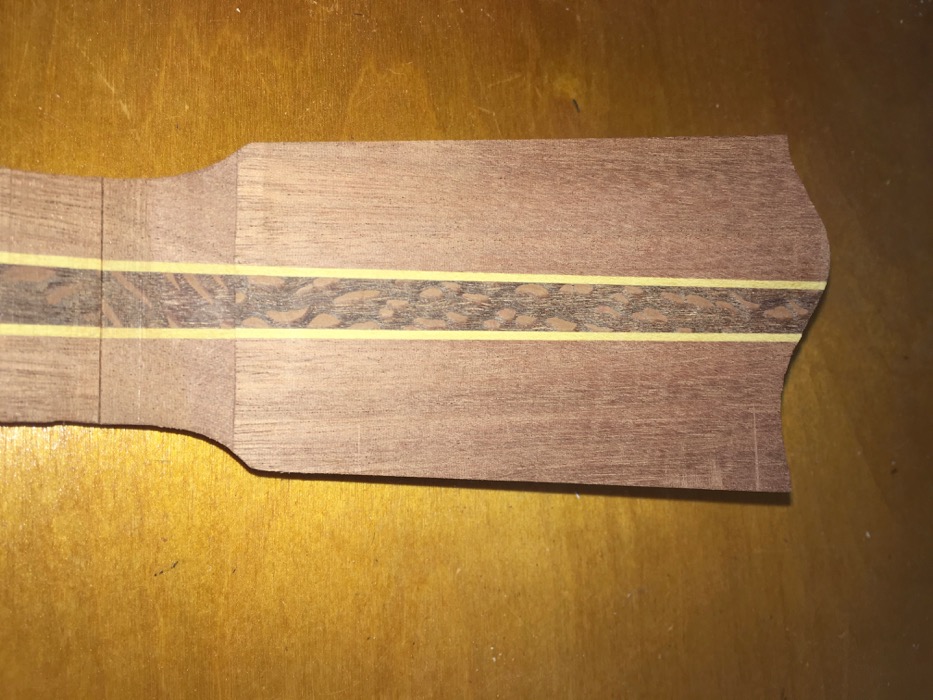
- Using a binding router bit and an appropriately sized bearing, cut a second channel (past the binding channel) a couple of 1/1000’s of an inch higher than the shell inlay and the width to accommodate the inlay and some purfling. I decided to mimic the purfling pattern from the rosette.
- Cut a thin strip of teflon that has the exact same thickness as the width of the shell inlay pieces.
- Glue up the binding (I made some ebony binding for this use), the teflon piece and the purfling using Titebond.
- After an hour or so, remove the teflon. This leaves a channel between the binding the the purfling to insert the inlay pieces. Add a bit of thin super glue to the purfling to “stiffen” it up.
- Clean out any residue
- Using straight and 2 different curved abalone pieces, insert the inlay. If the curve necessary is more/less than the piece you have, just force it in. It will break but you won’t see the joint(!). Make sure to press the piece all the way in and push it against the previous piece
- One all the pieces are in, use thin super glue )lightly) to set it all up then flood the channel with thick super glue. Use a pin to pop any super glue bubbles.
- Let set about 24 hours.
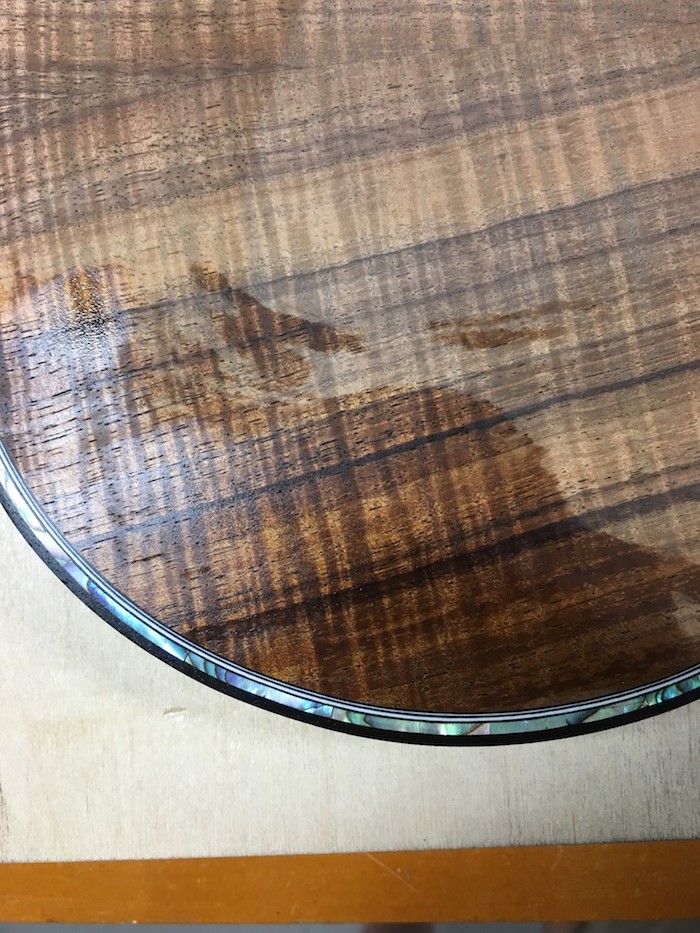
After fully curing, sand off the super glue and scrape/sand down the binding flush to the instrument. The thick super glue acts as protection to the shell because we made the depth of the inlay channel slightly deeper than the inlay itself.
Beautiful!


Leave A Comment
You must be logged in to post a comment.